> ## Documentation Index
> Fetch the complete documentation index at: https://docs.bigdata.com/llms.txt
> Use this file to discover all available pages before exploring further.
# Bigdata.com Plugin in VS Code
> Install the Bigdata.com plugin for VS Code to bring financial research capabilities directly into your code editor
The **Bigdata.com Plugin for VS Code** bundles the [Bigdata MCP Connector](/mcp-reference/api-integrations/mcp-api-integration) and the [Financial Research Analyst](/skills-reference/mcp-helpers/financial-research-analyst) skill, bringing institutional-grade financial research capabilities directly into your VS Code environment.
This plugin enables you to run financial analysis workflows, generate investment reports, and access real-time financial data without leaving your editor.
## Installation
Press **Ctrl+Shift+P** (or **Cmd+Shift+P** on Mac) to open the Command Palette, and search for `Install Plugin from Source`
 Enter the Bigdata official plugin marketplace:
```
https://github.com/Bigdata-com/bigdata-plugins-marketplace
```
Enter the Bigdata official plugin marketplace:
```
https://github.com/Bigdata-com/bigdata-plugins-marketplace
```
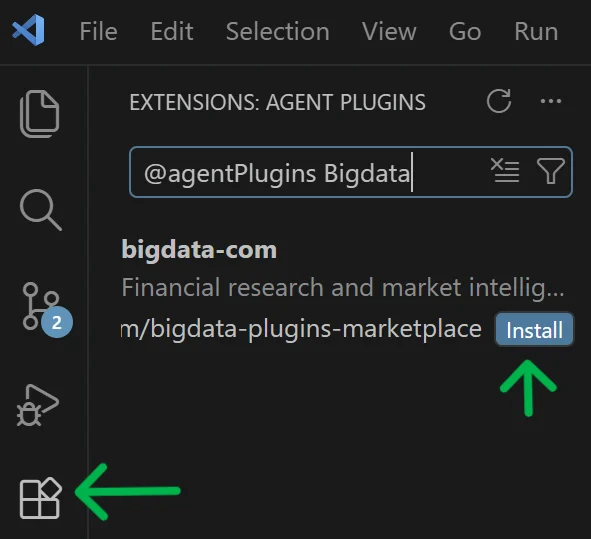
 Click the **Extensions** icon in the left sidebar, search for `@agentPlugins` and press Enter
Then continue typing **Bigdata** to find the plugin and click Install.
Click the **Extensions** icon in the left sidebar, search for `@agentPlugins` and press Enter
Then continue typing **Bigdata** to find the plugin and click Install.
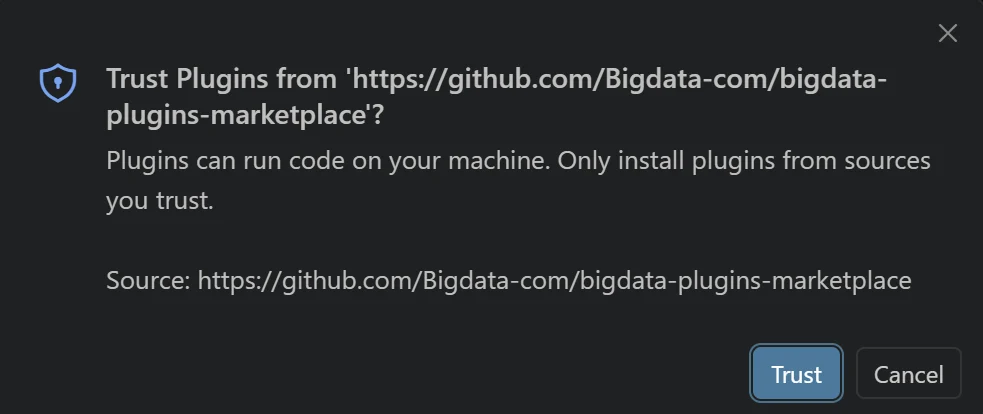
 When prompted, click **Trust** to trust the official Bigdata plugins repository.
The official repository is:
* `https://github.com/Bigdata-com/bigdata-plugins-marketplace`
When prompted, click **Trust** to trust the official Bigdata plugins repository.
The official repository is:
* `https://github.com/Bigdata-com/bigdata-plugins-marketplace`
 ## Configuration
You can create your API Key in the [Developer Platform > API Keys](https://platform.bigdata.com/api-keys).
## Configuration
You can create your API Key in the [Developer Platform > API Keys](https://platform.bigdata.com/api-keys).
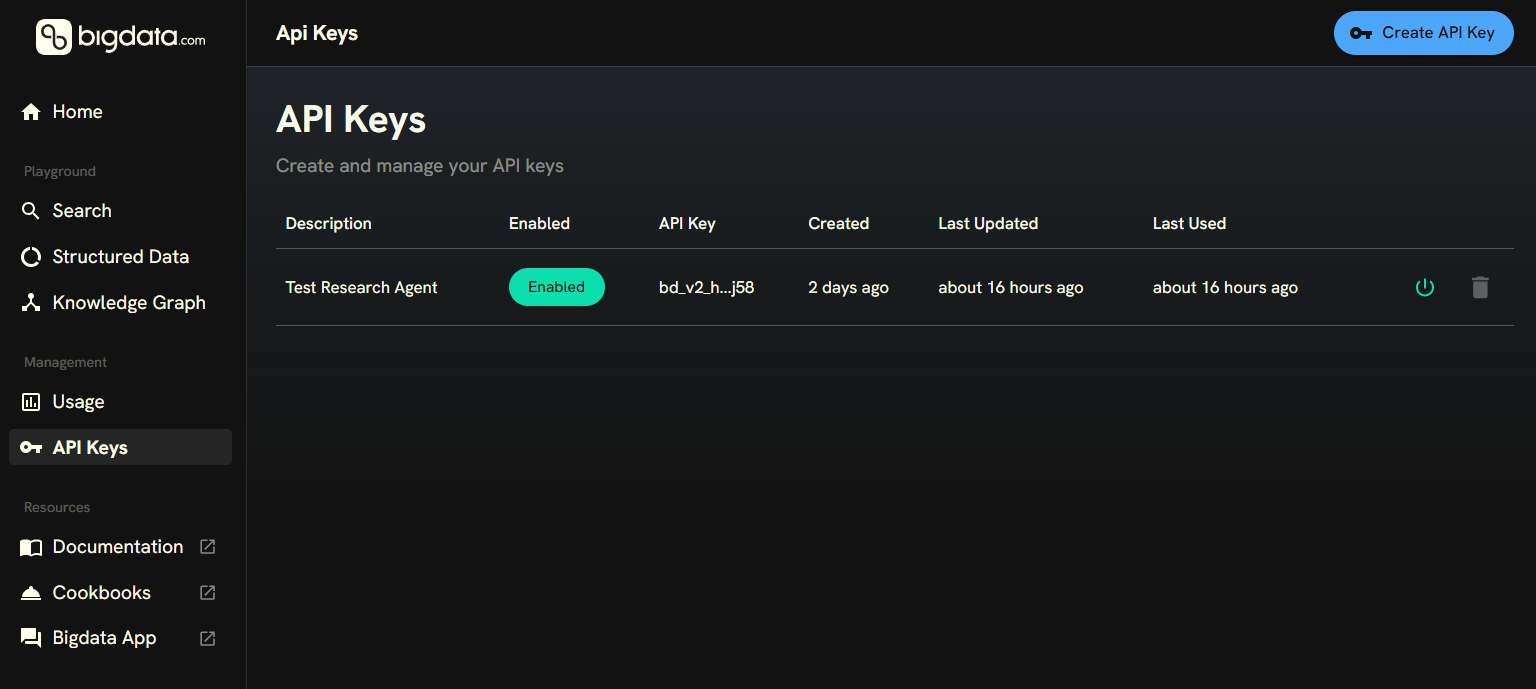 Ideally, store the API Key in your password manager, so you can access it in the future.
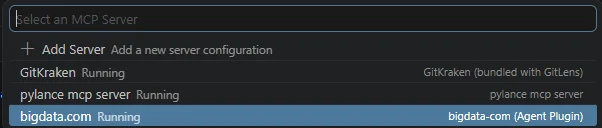
Press **Ctrl+Shift+P** (or **Cmd+Shift+P** on Mac) to open the Command Palette, type **"MCP: List Servers"** and press Enter
Ideally, store the API Key in your password manager, so you can access it in the future.
Press **Ctrl+Shift+P** (or **Cmd+Shift+P** on Mac) to open the Command Palette, type **"MCP: List Servers"** and press Enter
 From the list, select or navigate to **"bigdata.com"**
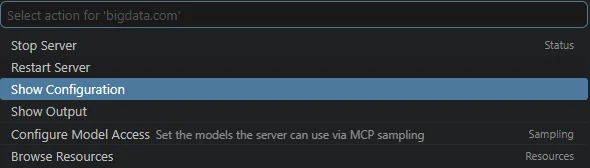
 Click **"Show Configuration"**
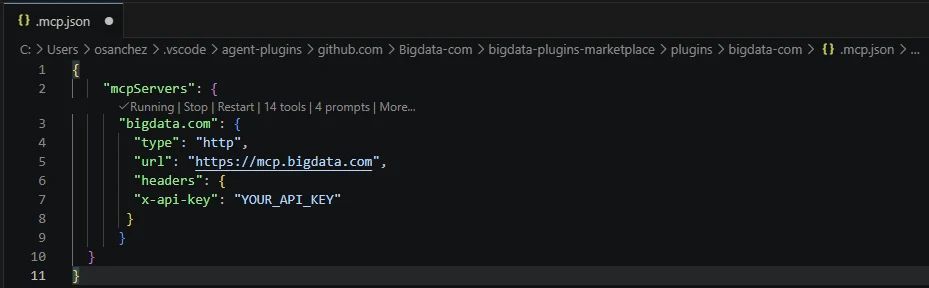
 And finally, edit the configuration file to add a header with your Bigdata API Key
```json theme={null}
"headers": {
"x-api-key": "YOUR_API_KEY"
}
```
And finally, edit the configuration file to add a header with your Bigdata API Key
```json theme={null}
"headers": {
"x-api-key": "YOUR_API_KEY"
}
```
 ## Running Your First Analysis
Once configured, you can immediately start running financial research workflows.
### Example: Generate an Earnings Call Preview
In the VS Code Chat panel, type:
```
Can you create an earnings call preview for C4 Therapeutics Inc?
```
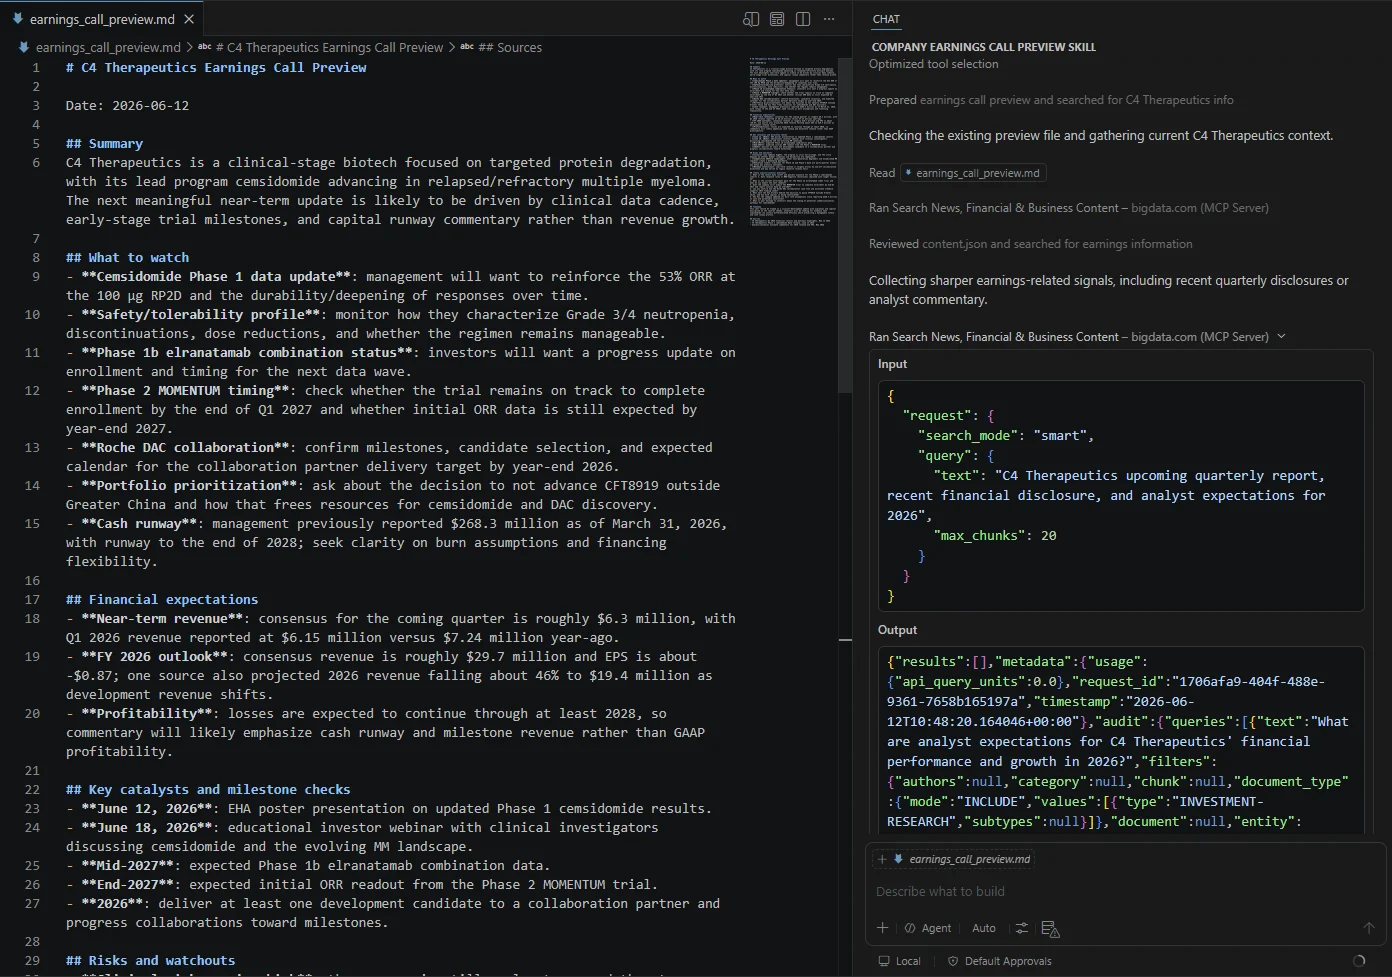
VS Code Chat will automatically identify the **Financial Research Analyst Skill** to help you create an Earnings Call Preview report.
## Running Your First Analysis
Once configured, you can immediately start running financial research workflows.
### Example: Generate an Earnings Call Preview
In the VS Code Chat panel, type:
```
Can you create an earnings call preview for C4 Therapeutics Inc?
```
VS Code Chat will automatically identify the **Financial Research Analyst Skill** to help you create an Earnings Call Preview report.
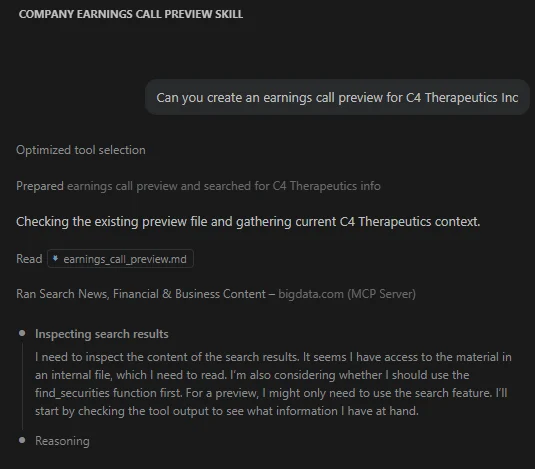 The plugin will search using the Bigdata MCP tools and generate your report with full source attribution.