How it fits together
Traffic makes one round trip through your backend: the widget only knowsproxyUrl; your server holds the Bigdata credentials and relays the streaming response.
Where each part runs — the chat UI and your proxy live on your side; the Research Agent runs in Bigdata’s infrastructure.
What happens at each step — the browser posts JSON to your URL; your server adds the API key, calls Bigdata, and streams the response back.
Why you need a backend endpoint
End users can open developer tools and read any secret shipped to the page. The widget therefore sends chat requests toproxyUrl only. Your server (or serverless function) should:
- Authenticate the request if needed (cookie, session, or signed token).
- Add the Bigdata API key to the outbound request.
- Forward the JSON body to the Research Agent endpoint and stream the response back as Server-Sent Events (SSE).
Content-Type: application/json on requests to proxyUrl. Your proxyUrl must be reachable from the visitor’s browser same-origin or with correct CORS (for example allowing POST and Content-Type when the page and API are on different origins).
For request and response field details on the Bigdata side, see Research Agent API. A typical upstream URL is https://agents.bigdata.com/v1/research-agent (use the endpoint your onboarding materials specify).
If you use WordPress, contact support to ask about our Bigdata Widgets plugin
instead of building the proxy yourself.
Browser compatibility
The script bundle targets modern evergreen browsers. It is not supported in Internet Explorer or other legacy engines without current Web APIs.| Browser | Guidance |
|---|---|
| Chrome | Recent stable (desktop and Android). |
| Edge | Recent stable (Chromium-based). |
| Firefox | Recent stable. |
| Safari | 16.4 or newer on macOS and iOS. Earlier versions lack reliable support for constructible stylesheets and adoptedStyleSheets on the widget’s Shadow DOM, which the bundle uses to inject CSS. |
- JavaScript enabled — the widget mounts via script and does not render without JS.
- Streaming from your proxy — the client reads the proxy response as incremental
text/event-streamdata overXMLHttpRequest(POST with a JSON body). Middleboxes, strict proxies, or extensions that buffer or block streaming can delay or break live token display; align with Troubleshooting if replies appear only after completion. - Third‑party cookies — not required for the default embed pattern; auth is between the visitor’s browser and your
proxyUrl(cookies or headers you set on that origin still apply).
Quickstart
Add a sized container
Add a wrapper element and give it the size you want (fixed pixels, percentage, flex, grid, or
min-height—whatever fits your page). The widget mounts inside it and stretches to fill the container’s box.Load the script
Use the widget script URL from Bigdata. Example shape (version path may differ). Load it before the inline script that constructs the widget so
BigdataAgent is defined:Initialize the widget
Create the widget with
new BigdataAgent.BigdataChatWidget({ ... }). At minimum set container and proxyUrl. Optional config, theme, and branding match the configuration reference below.Global API: BigdataAgent
After the bundle loads, the UMD global BigdataAgent exposes BigdataChatWidget. Instantiate it with new BigdataAgent.BigdataChatWidget(config); the return value is the mounted widget instance.
| Property / method | Type | Description |
|---|---|---|
BigdataAgent.BigdataChatWidget | class | Constructor: pass the same config object described in Configuration reference. |
BigdataChat.version | string | On window: build version string (diagnostics). |
BigdataChat.buildTimestamp | string | On window: build timestamp string (diagnostics). |
new BigdataAgent.BigdataChatWidget(...) if you need to call destroy() or attach listeners.
Proxy contract (summary)
| Aspect | Expected behavior |
|---|---|
| HTTP method | POST to proxyUrl |
Request Content-Type | application/json |
| Request body | JSON including at least chat_id, message, research_effort, tools_configs, and from_interaction_id (the widget generates these fields; align your proxy with the Research Agent API). |
| Response | Content-Type: text/event-stream with SSE data: frames the widget can parse |
Configuration reference
Top-level options
| Option | Type | Description |
|---|---|---|
container | string or HTMLElement | Required. Where the widget mounts: a CSS selector that document.querySelector resolves, or a DOM element. |
proxyUrl | string | Required. Your backend URL that forwards requests to the Research Agent. |
instanceId | string | Optional. Stable id for this instance when several widgets share a page; if omitted, the implementation uses "chat". |
manager | BigdataWidgetManager | Optional. Shared manager across widgets for coordinated events and a common base theme. |
config | object | Optional. Research and UX settings; see config (research and UX) below. |
theme | object | Optional. Visual settings; see theme below. |
branding | object | Optional. Footer branding; see branding below. |
config (research and UX)
| Field | Type | Description |
|---|---|---|
researchEffort | "lite" | "standard" | Depth / execution mode for agent runs; defaults to "standard" if omitted. |
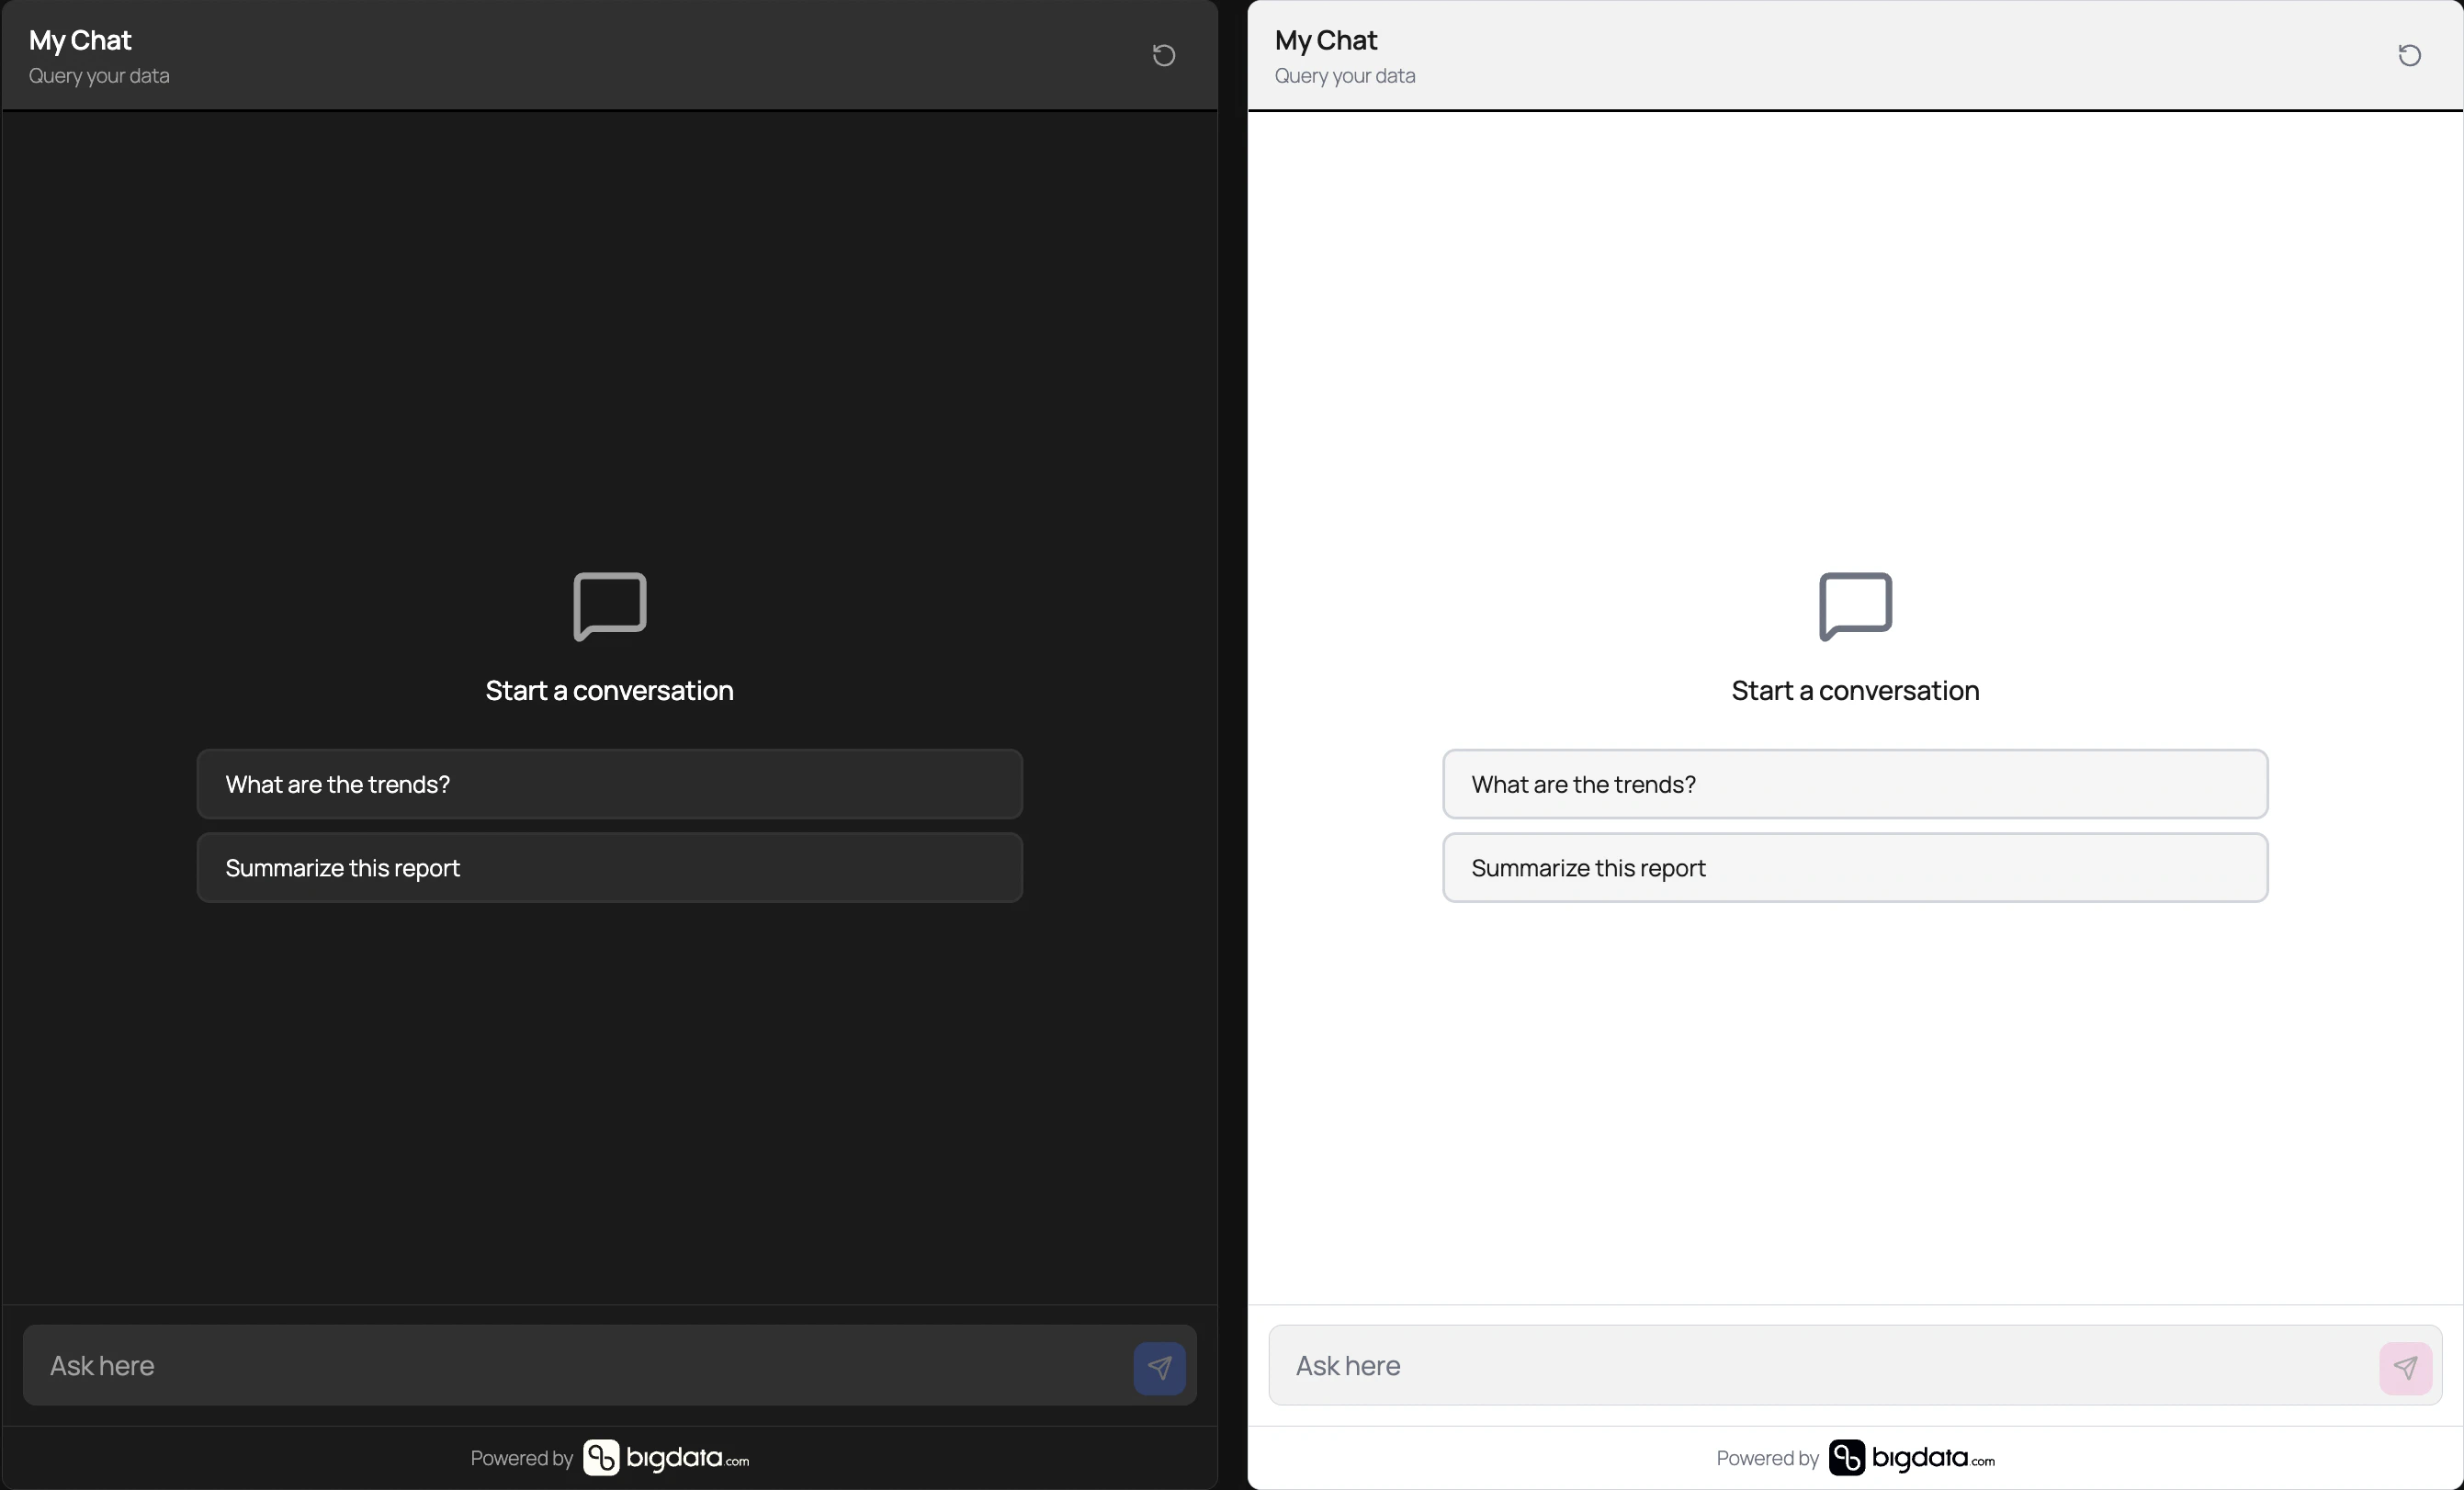
suggestedQuestions | string[] | Optional starter prompts in the UI. |
showAdvancedControls | boolean | Shows advanced input controls when true. |
inlineAttribution | boolean | Inline attribution behavior when supported. |
placeholder | string | Input placeholder (max 200 characters). |
headerTitle | string | Header title (max 100 characters). |
headerSubtitle | string | Header subtitle (max 200 characters). |
categoryFilter | object | Restrict categories: { mode: "INCLUDE" | "EXCLUDE", values: string[] } (values are category identifiers your integration uses). |
theme
The widget runs inside an open Shadow DOM, so host-page CSS does not change its internal layout or colors. Size the mount container in your page; the widget fills that container. You can also set theme.width and theme.height if you need explicit dimensions on the widget instead of relying on the container alone.
Theme values are merged with defaults. preset chooses a base palette before overrides:
preset | Behavior |
|---|---|
light | Light background and text colors. |
dark | Dark background and text colors. |
auto | Follows the user’s system preference (prefers-color-scheme). |
| Field | Type | Description |
|---|---|---|
primaryColor | string | Accents (buttons, links). |
backgroundColor | string | Widget background. |
surfaceColor | string | Cards / message surfaces. |
textColor | string | Primary text. |
textSecondaryColor | string | Muted text. |
borderColor | string | Borders and dividers. |
fontFamily | string | Font stack; defaults to "inherit" (uses the host page’s font family). |
fontSize | string | Base size; defaults to "16px". |
borderRadius | string | Corner radius (e.g. "8px"). |
width | string | Optional fixed width when not using a fully sized container. |
height | string | Optional fixed height when not using a fully sized container. |
preset | "light" | "dark" | "auto" | Base palette; see table above. |
branding
| Field | Type | Description |
|---|---|---|
showPoweredBy | boolean | Whether to show the “Powered by” footer; defaults to true. Set false to hide. |
logoUrl | string | Optional custom logo URL. |
Multiple widgets and shared theming
Create oneBigdataWidgetManager with an optional shared theme, pass it as manager in each new BigdataAgent.BigdataChatWidget({ ... }) config, and give each widget a distinct instanceId. That way instances stay isolated but can share base styling.
Instance lifecycle and events
destroy()— Unmounts React, clears the shadow root, and unregisters the instance. Call this when removing the widget from the page.addListener(event, handler)/removeListener(event, handler)— Subscribe to widget events.
instanceName, timestamp, and data:
| Event | data shape (summary) |
|---|---|
ready | { widgetName: string } |
chatmessage | { prompt: string, researchEffort: "lite" | "standard" } |
updatefilters | { categoryFilter?: { mode, values } } |
opendocument | { documentId: string, isPrivate: boolean } |
openlink | { url: string } |
emit("chatmessage", { prompt, researchEffort }) on the same instance the widget uses (same researchEffort values as in the table above).
Troubleshooting
Blank area or widget does not appear
Blank area or widget does not appear
Confirm the script URL loads (network tab, no 404). Ensure
container matches an existing
element. Check the browser console for validation errors (for example invalid proxyUrl).CORS errors
CORS errors
Your
proxyUrl origin must allow the site origin that embeds the widget
(Access-Control-Allow-Origin and related headers for POST).401 or 403 from proxy
401 or 403 from proxy
The proxy is rejecting the request before Bigdata. Verify server-side auth and that forwarded
credentials match what your Bigdata integration expects.
No streaming; reply arrives all at once
No streaming; reply arrives all at once
Disable or reconfigure response buffering on your proxy, load balancer, or framework so
text/event-stream is flushed incrementally.