

Configuration Steps
As a Workspace administrator, you can manage which Apps are allowed within your organization. The following steps walk you through on how to add Bigdata.com App to your Workspace together with the recommended settings.1
Find the Bigdata.com connector in the Workspace settings.
- Open Workspace settings in ChatGPT.com
- Go to Apps
- Type Bigdata in the search bar
2
Click the Bigdata.com App and click Enable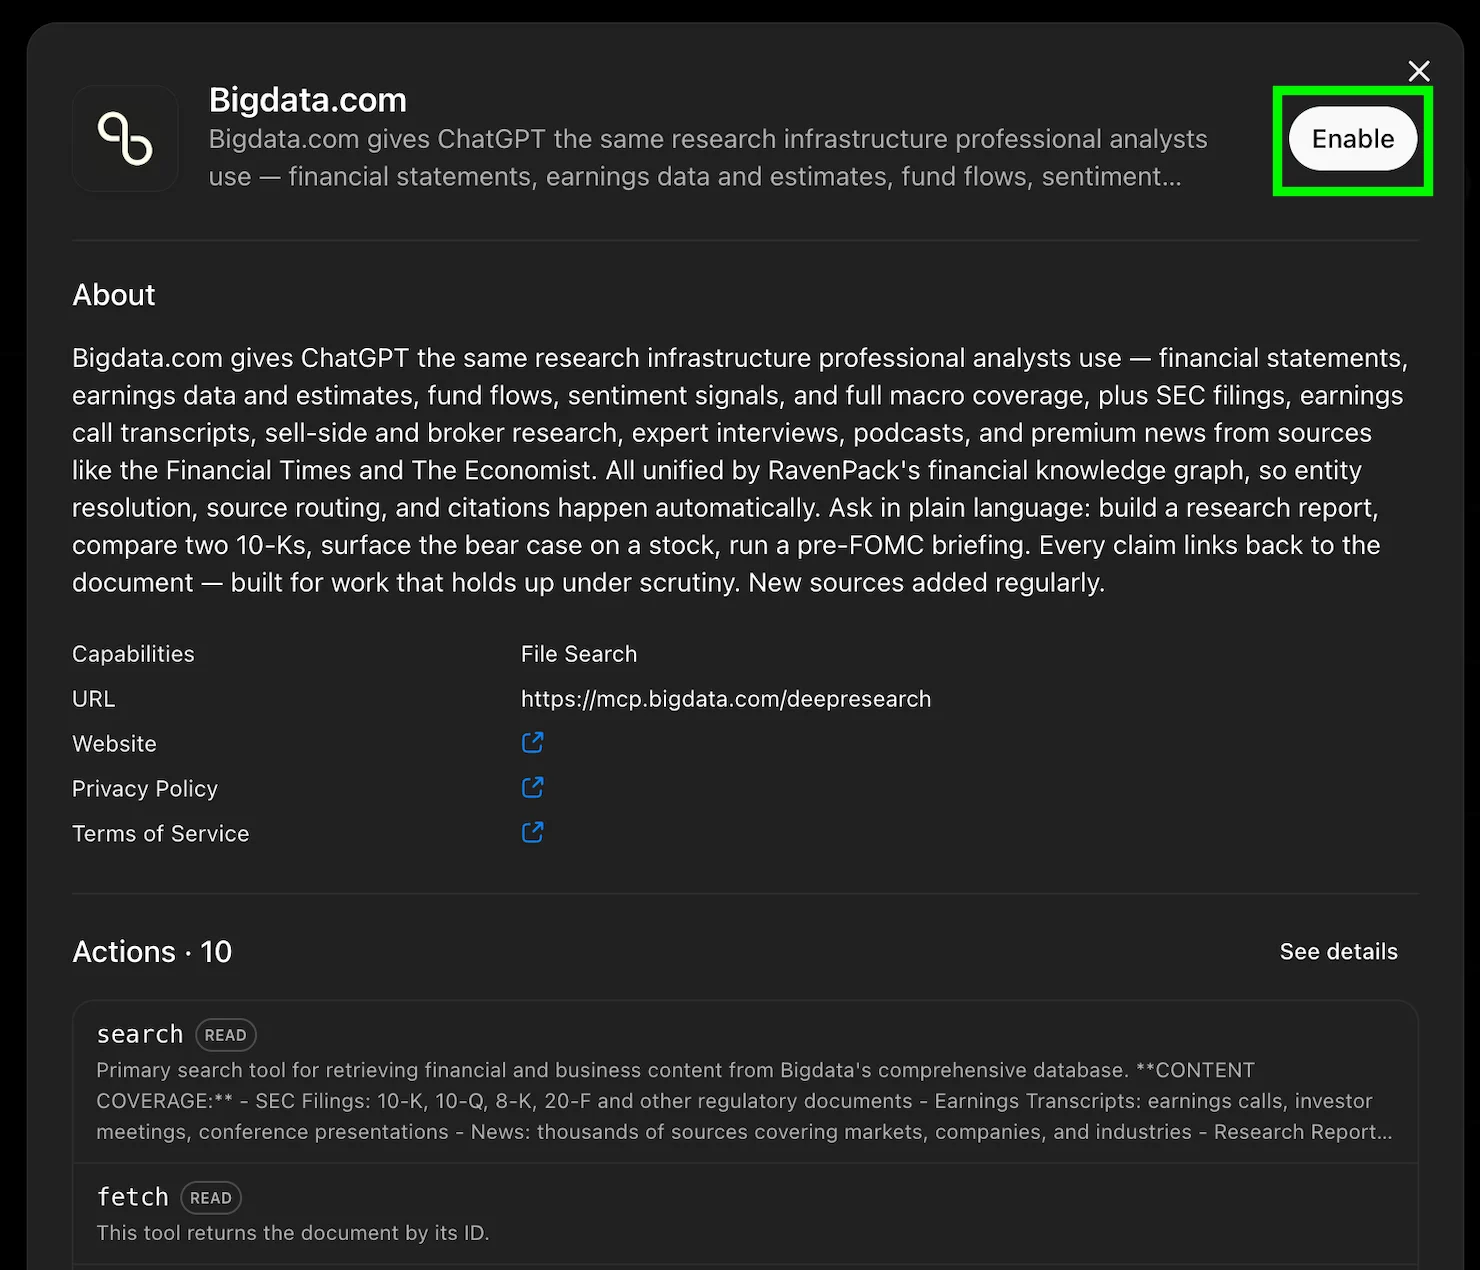
3
Once enabled, to ensure the users within your Workspace have a smooth experience, go to the Bigdata.com App settings and click on Action consent option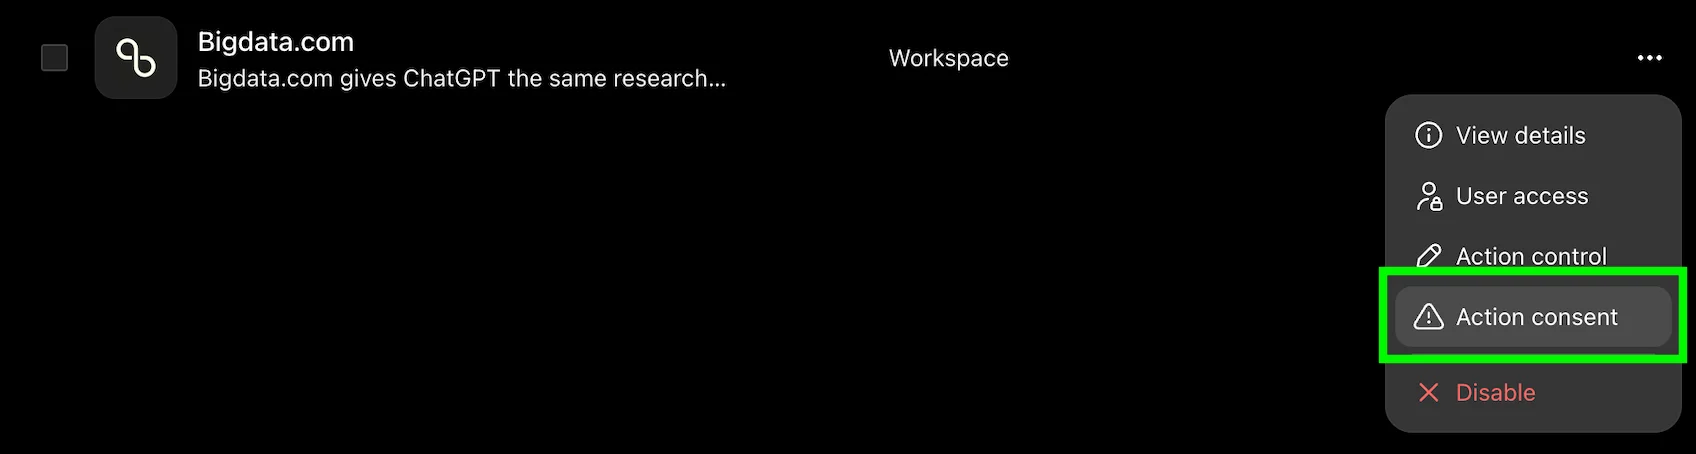
4
Select the Allow read actions with no user confirmation option and click Save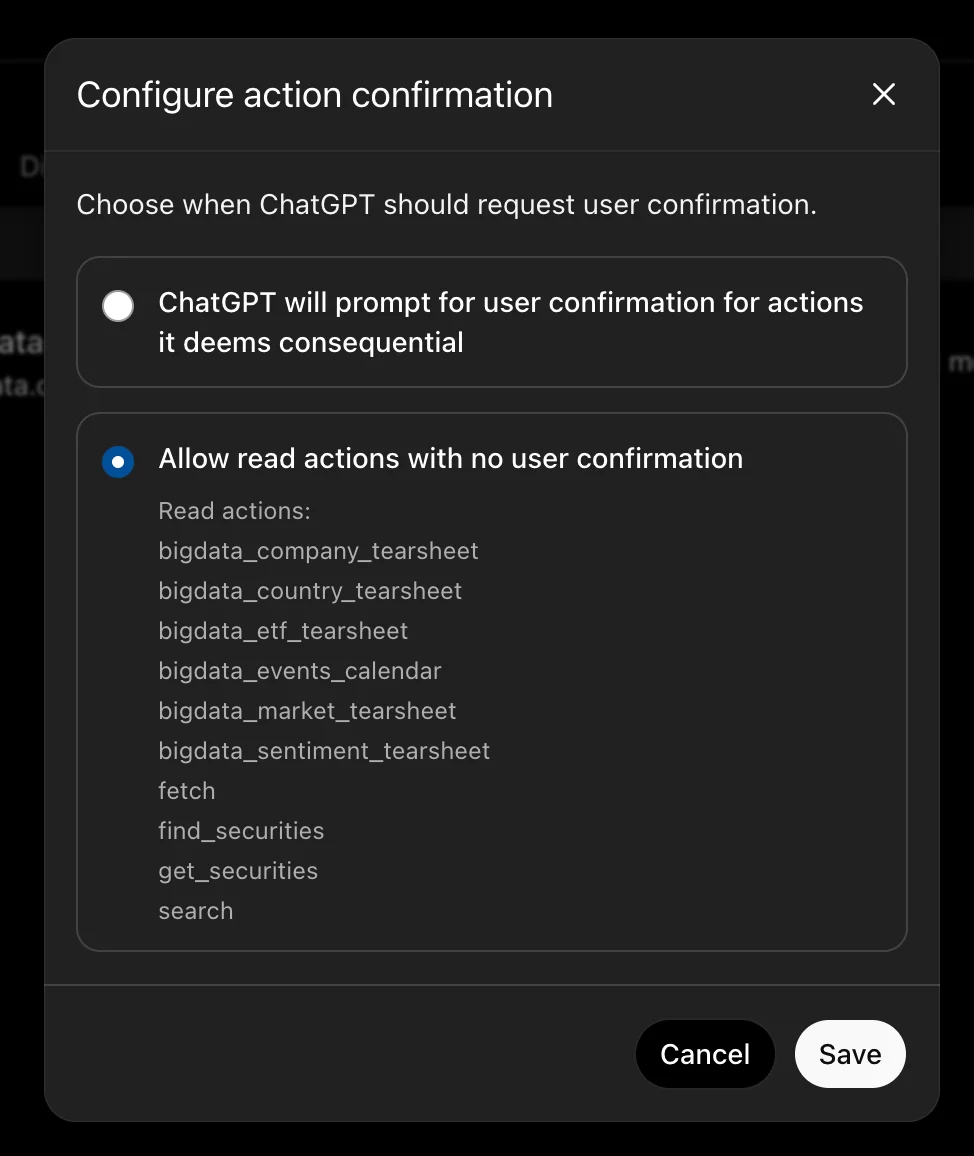
Using the Connector
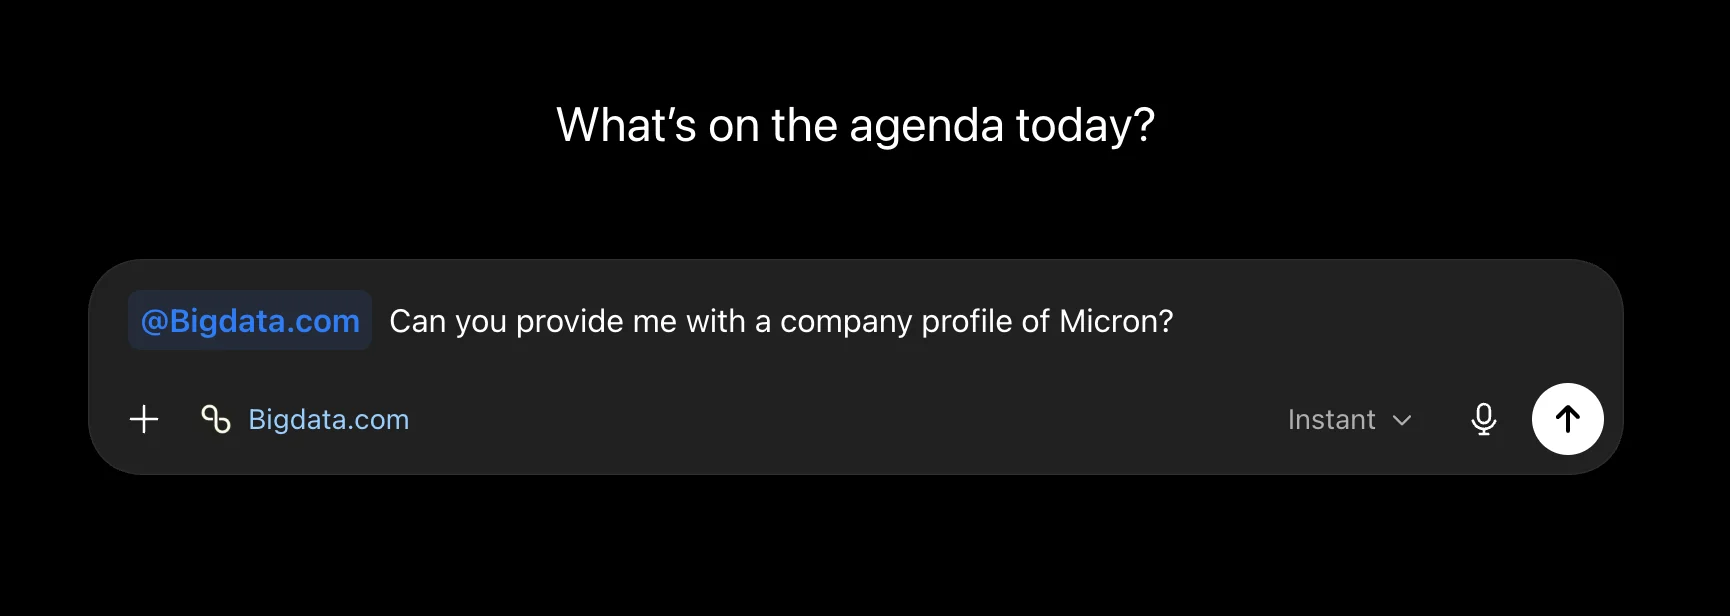
Once the Bigdata.com App has been enabled at your Workspace, you can connect to it and start using Bigdata.com MCP tools in your ChatGPT conversations.1
Open ChatGPT.com
Open ChatGPT in your browser and navigate to Settings > Apps.
2
Apps gallery
Click on Add more at the Apps gallery
3
Select the Bigdata.com App
Select Bigdata.com from the list of allowed Apps within your Workspace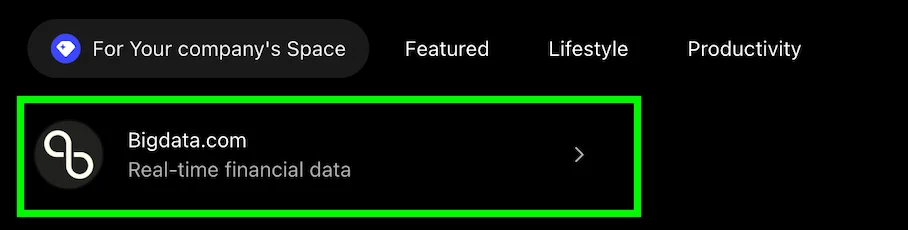
4
Connect to Bigdata.com
Click on Connect to login to Bigdata.com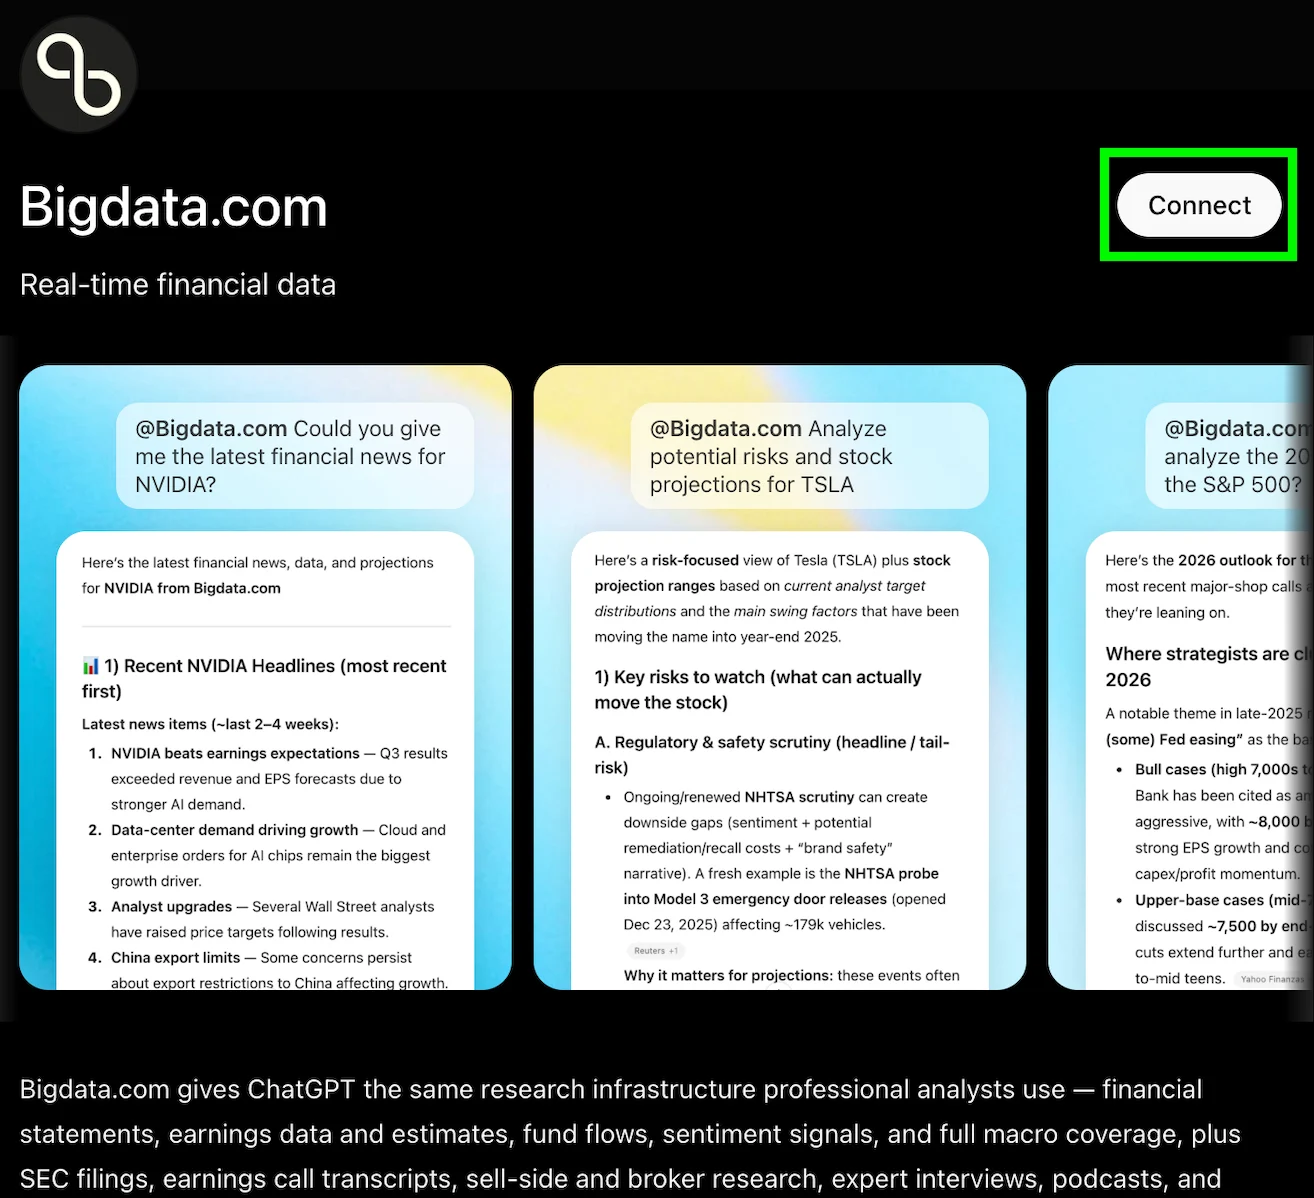
5
Log in to Bigdata.com
Once the browser redirects to Bigdata.com, you can log in using your Bigdata.com credentials, and the browser will redirect you back to ChatGPT after a successful login into the Bigdata.com App.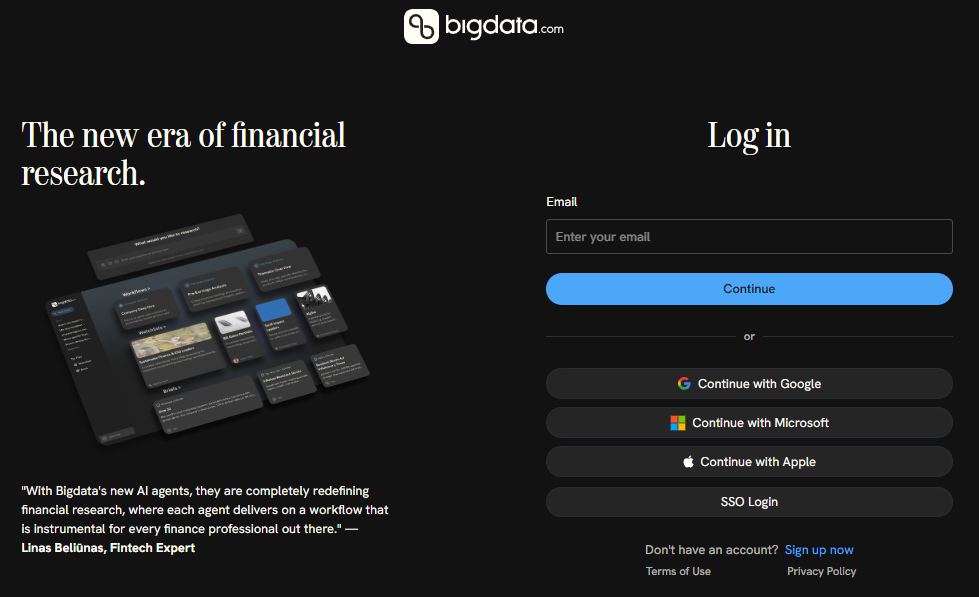

Troubleshooting
What should I do with my Bigdata custom connector?
What should I do with my Bigdata custom connector?
You can delete the custom connector and enable the official ChatGPT Bigdata.com App in your Workspace. They both point to the same Bigdata MCP server. ChatGPT does not allow two connectors with the same URL, so it’s better to delete the custom one.