Prerequisites
You need:- Access to Copilot Studio
- Appropriate Microsoft 365 subscription with Copilot Studio access
Configuration Steps
If you want to create a new Agent from a blank template, start from Step 1. If you already have an Agent and want to connect it to the Bigdata MCP, jump to Step 4.Create a New Agent
Go to Copilot Studio and create a new agent: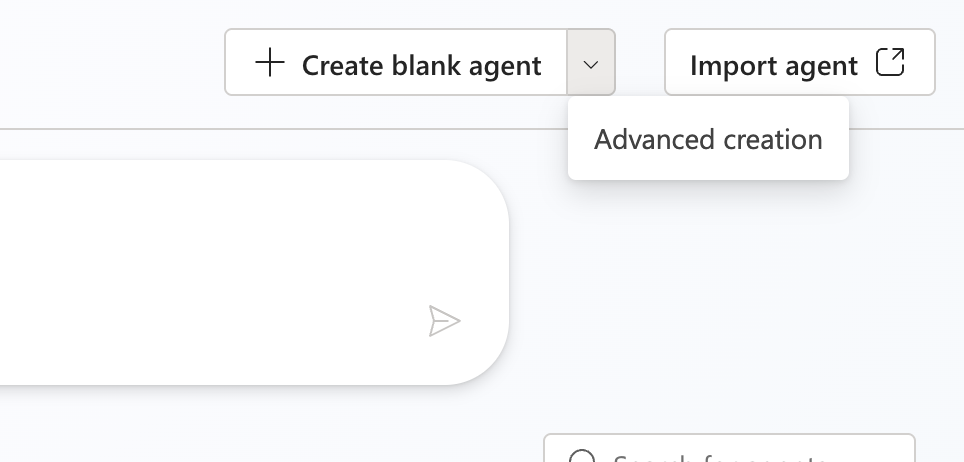
- From the menu on the left, go to Agents
- Click the arrow next to + Create blank agent and select Advanced creation from the dropdown menu
- In the next window, the Default language can be defined.
- Recommendation: English (United States)
Configure Agent Attributes
In the next page, define the new agent’s main attributes:
- Name:
Bigdata.com(or any name you prefer) - Icon: You can download the icon from here
- Description:
Access real-time financial data for market insights
Configure Agent Parameters
After creating your new agent, configure the following parameters within the same page:
- Agent Model: Depends on your internally enabled models. We suggest an advanced and versatile model (GPT-5 Auto, as of Dec 2025)
Add MCP Tool
To allow the new agent to use Bigdata.com, configure a new tool: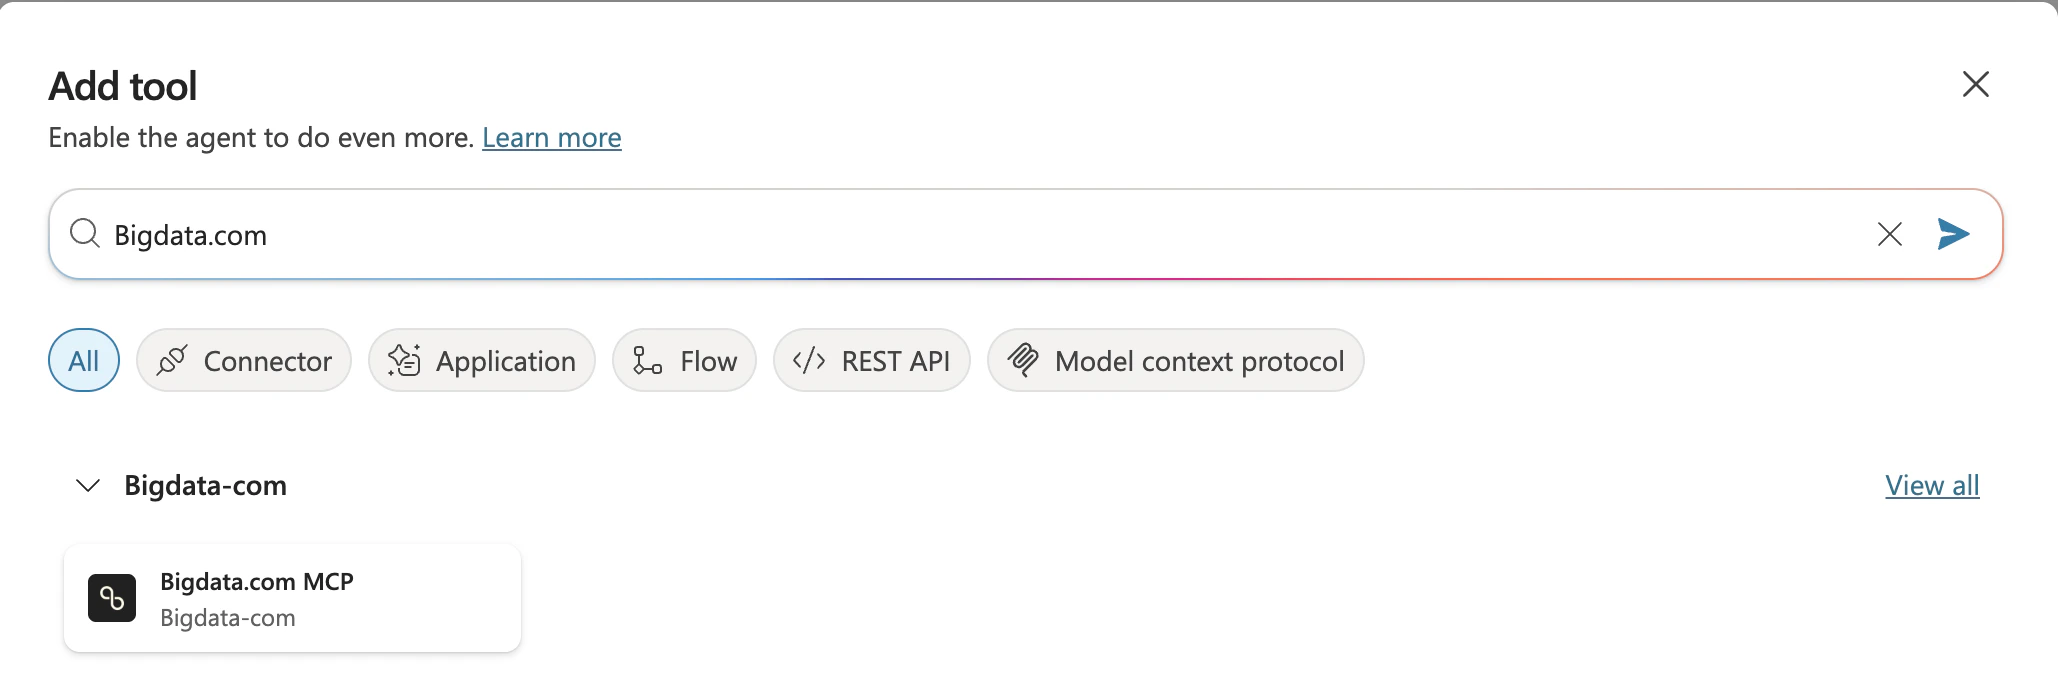
- Go to Tools from the top menu bar
- Click + Add tool button
- Type Bigdata.com in the search bar and press the Enter key
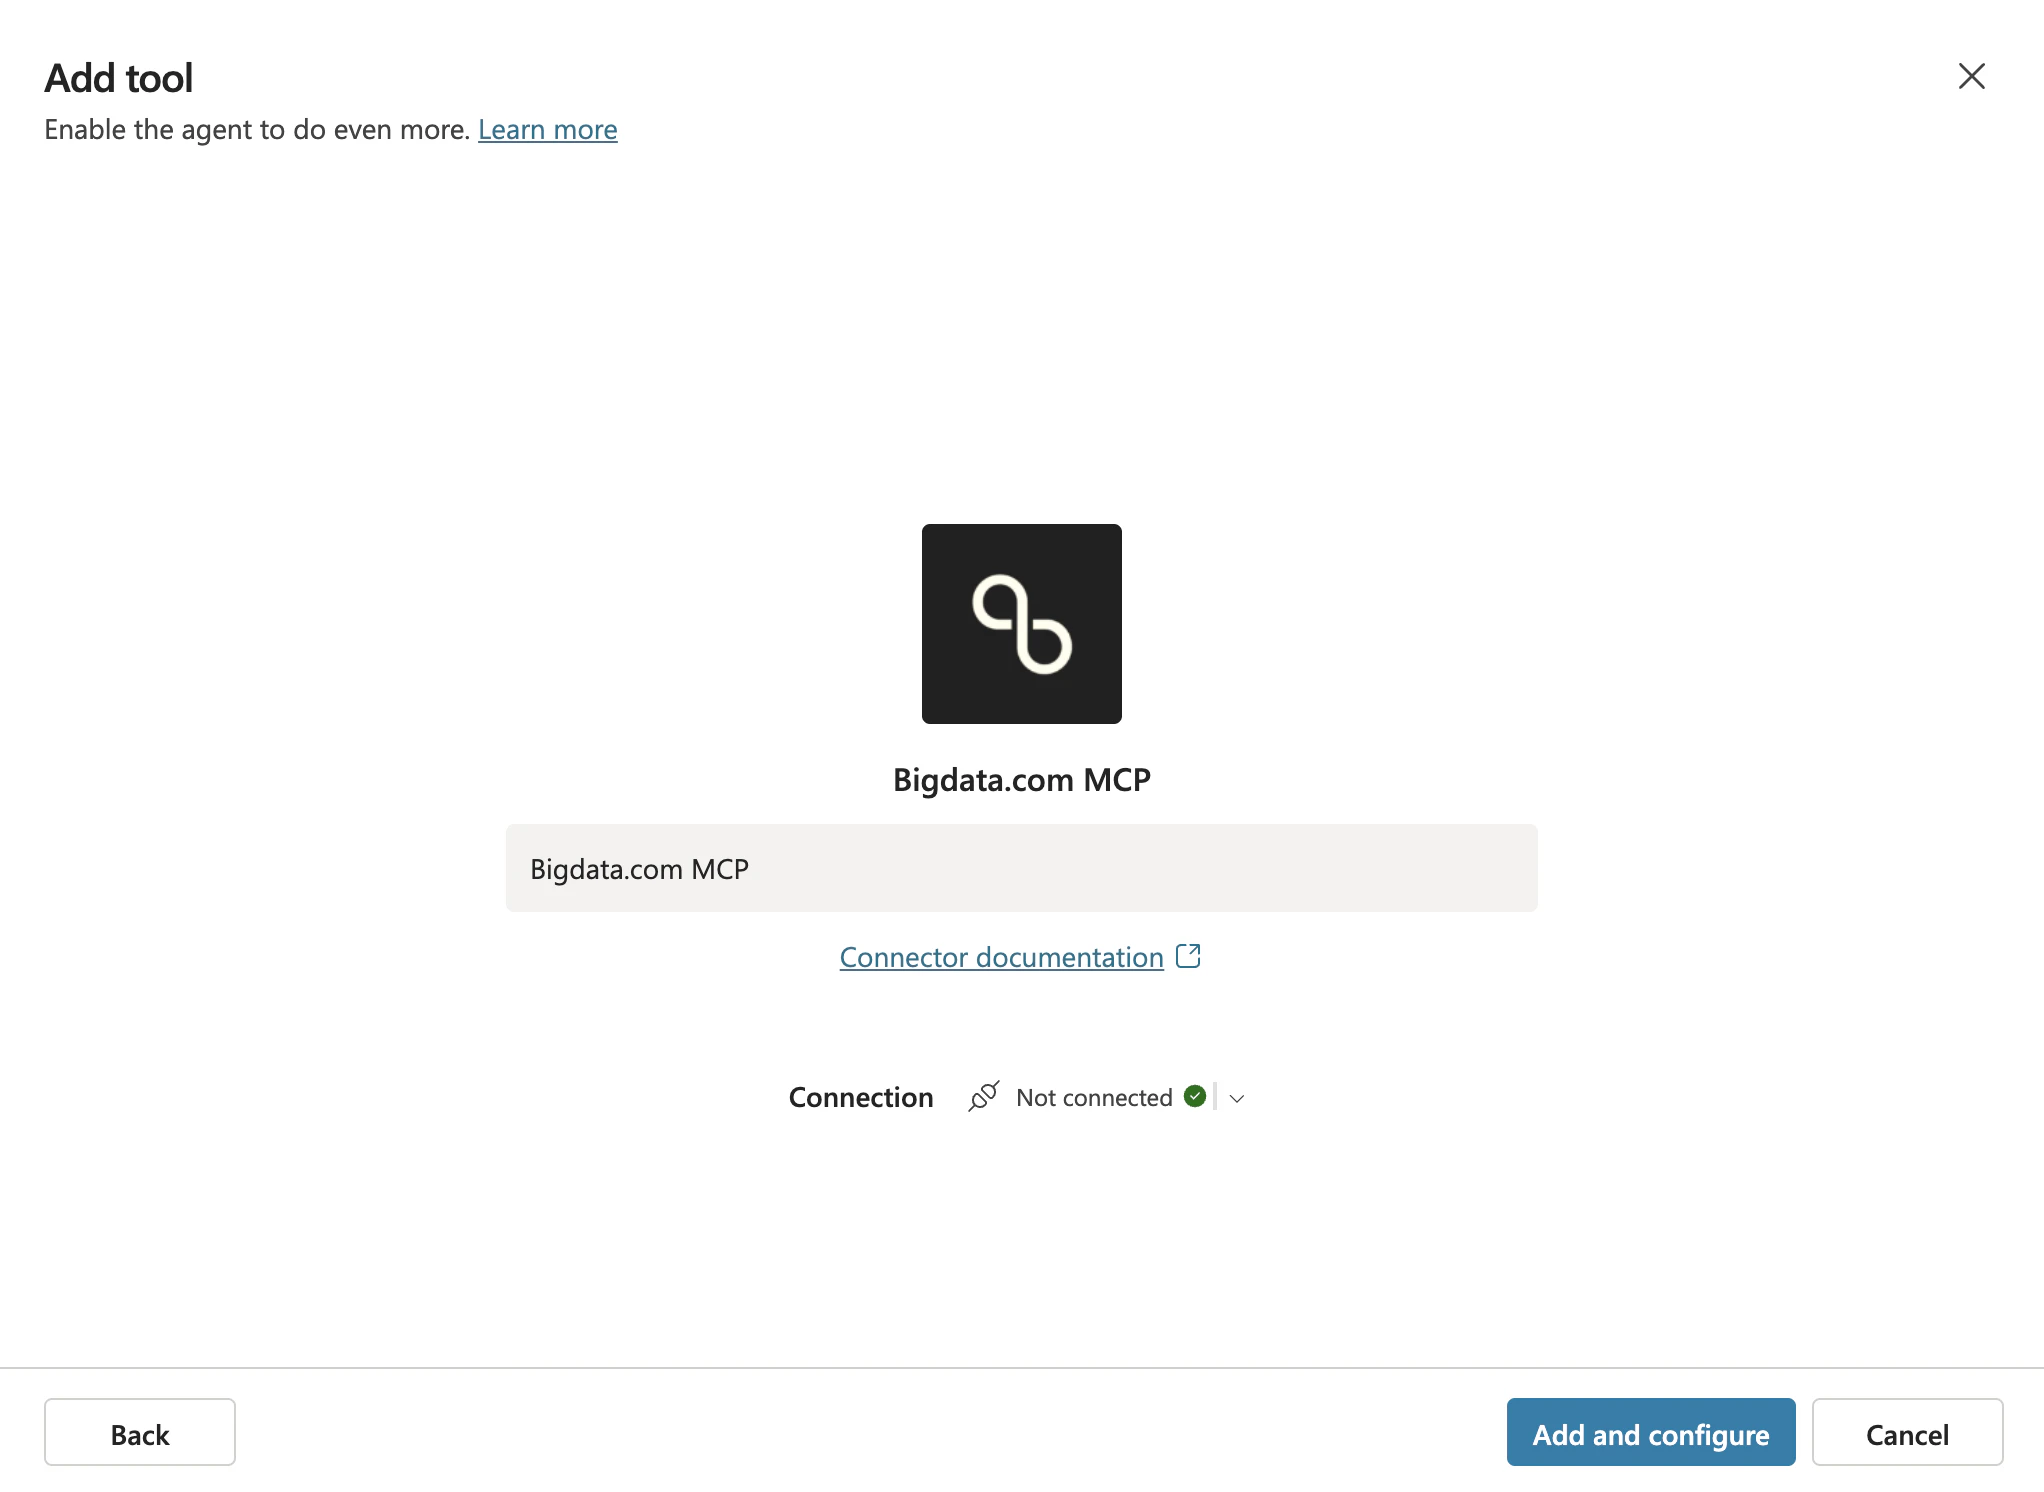
- Select the Bigdata.com MCP tool (You may see the name
Bigdata.com MCP endpoint)
- Click Add and configure button to complete the MCP tool setup
Publishing the Agent
Once the agent is configured, publish it to make it available for other users or your entire organization.Publish the Agent
If you followed the guide above, you should be in Copilot Studio inside the settings of your Agent 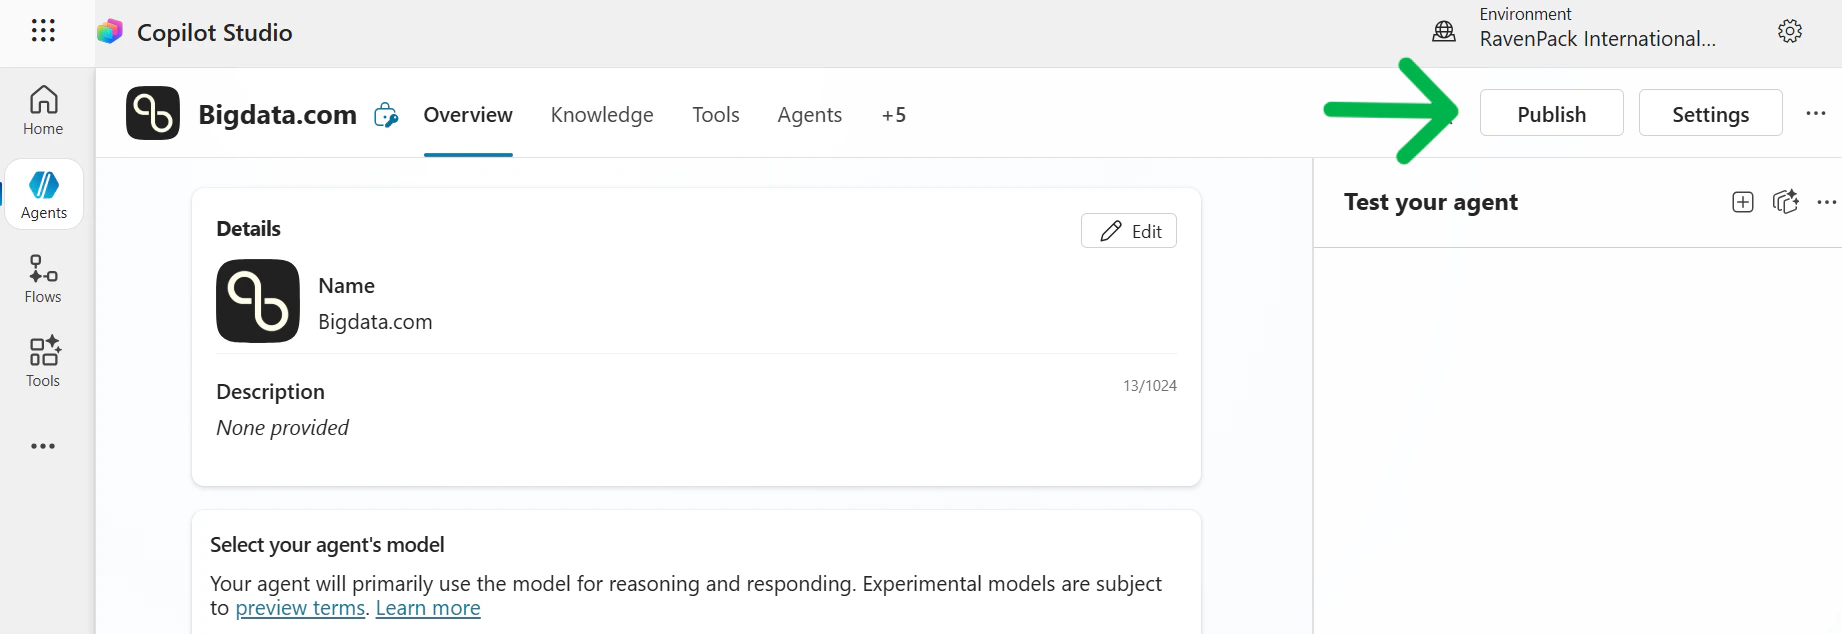
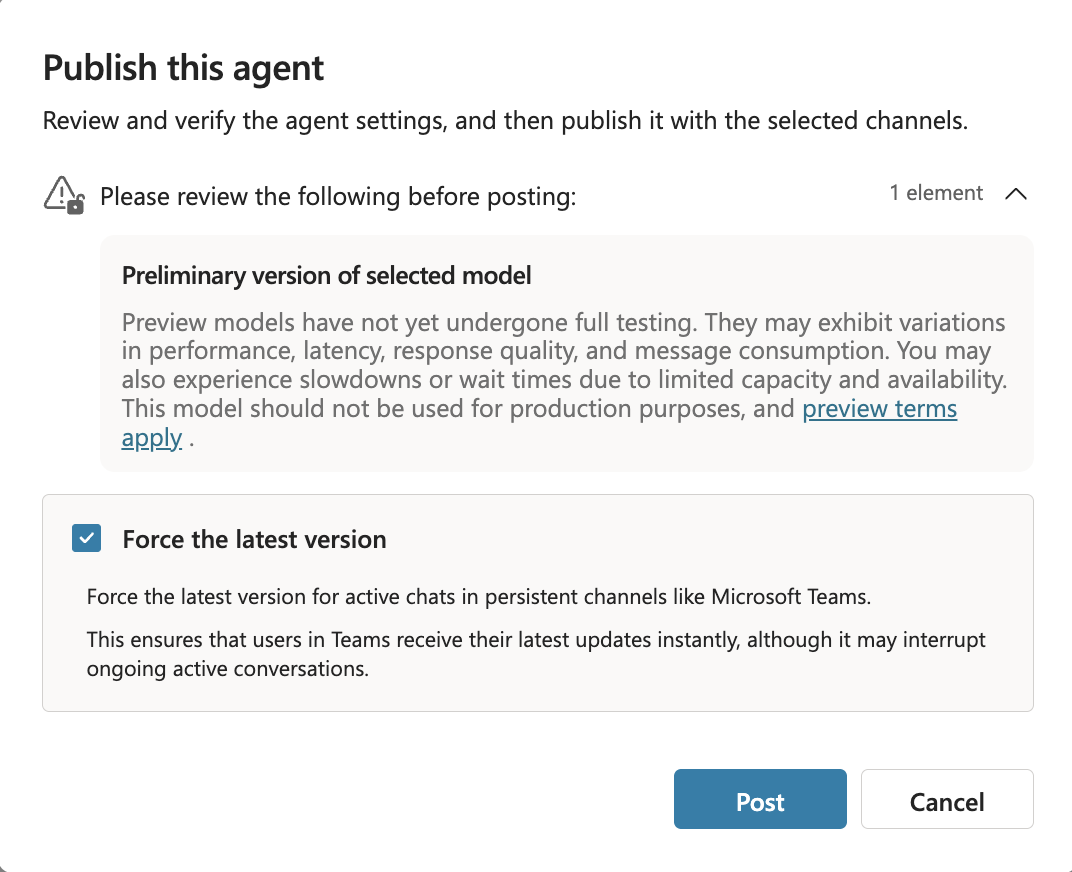
Bigdata.com. Otherwise, please click on it.Configure Channels
After publishing the Agent, configure the channels where it will be available:
- Go to Channels from the top menu bar
- Select the channel(s) where the Agent is expected to be available (for example “Teams & Microsoft 365 Copilot”)
- In the new window for the selected channel:
- Ensure Activate Microsoft 365 checkbox is selected
- The appearance of the agent (icon, description, etc.) can be personalized in the Edit details section
- Press the Add channel button
Set Availability
Configure who can access the agent: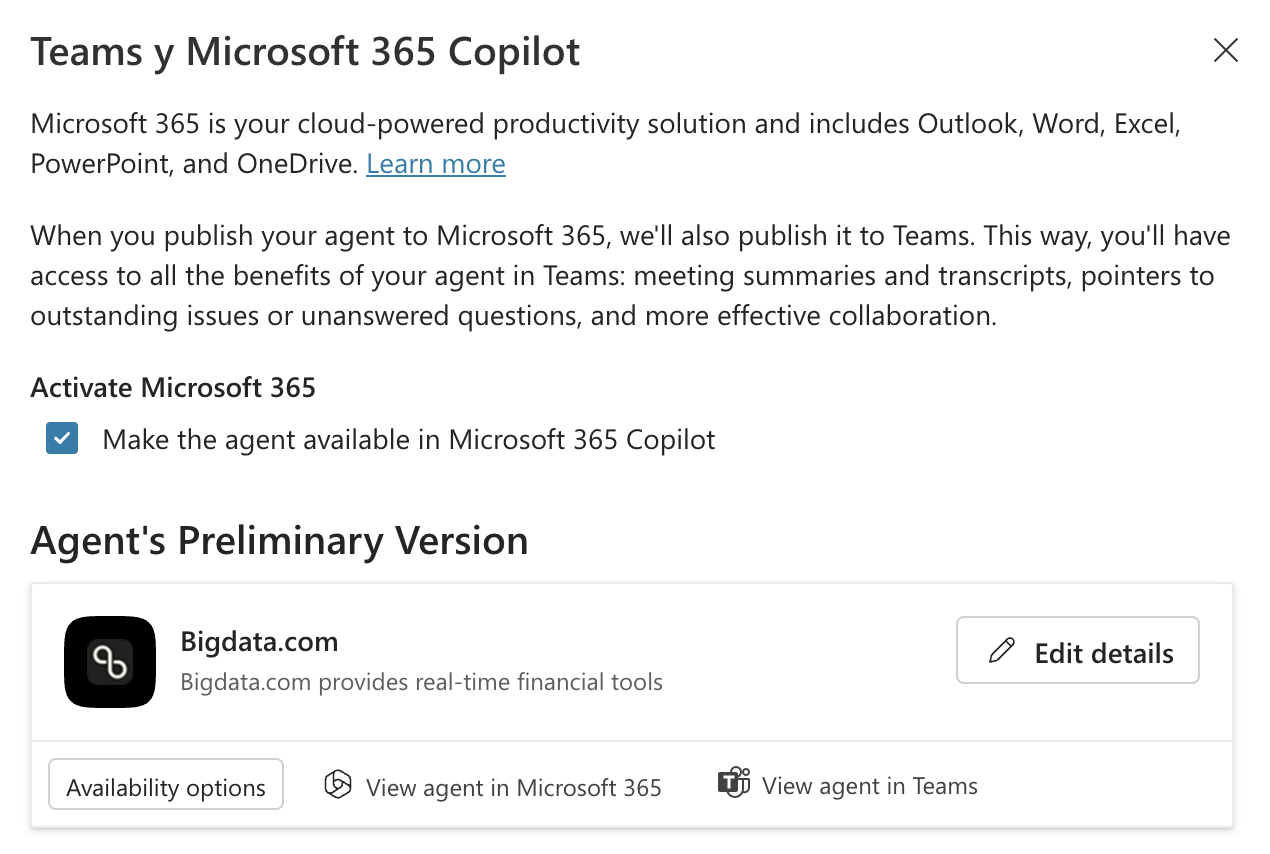
- Go to Availability Options where you can share it with:
- Specific people
- Teammates and shared users
- Everyone in your organization
- After selecting an Availability Option, press the Send for Admin approval button
Admin Approval
To approve/reject the Agent to be published:
- Go to https://admin.microsoft.com/
- Select Agents from the left menu, and All agents
- Navigate to the Requests tab
- The recently created agent should be listed
- Select the Agent and press the Publish button right below the agent name
Using the Agent
Once the Bigdata.com agent has been configured and published, you can start using Bigdata.com MCP tools in your Microsoft Copilot conversations.Access Microsoft Copilot
Open Microsoft Copilot in your preferred channel (Teams, Microsoft 365, etc.) where the agent has been made available.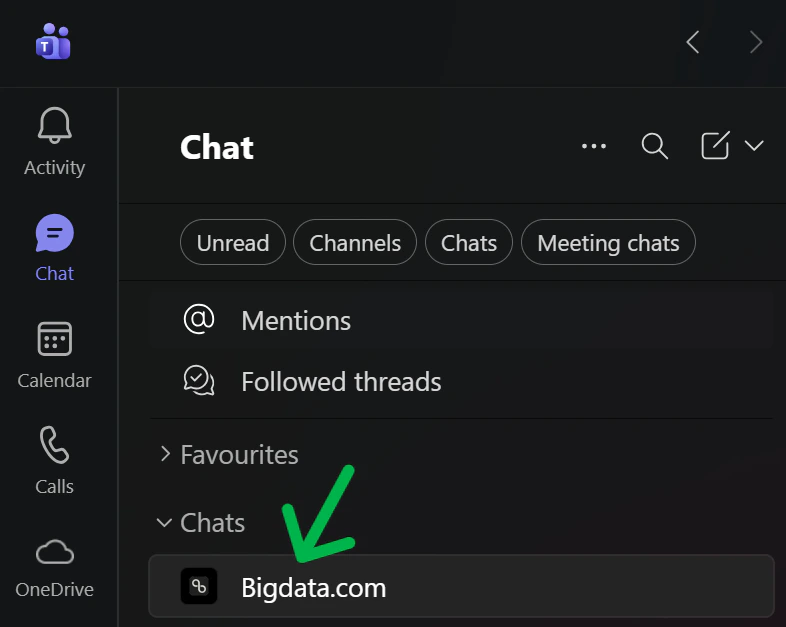
Start a Conversation
Begin a conversation with the Bigdata.com agent and ask questions about financial data, market insights, or any other Bigdata.com capabilities.Prompt examples: